
Key steps in floor installation
PVC Flooring Installation Guide
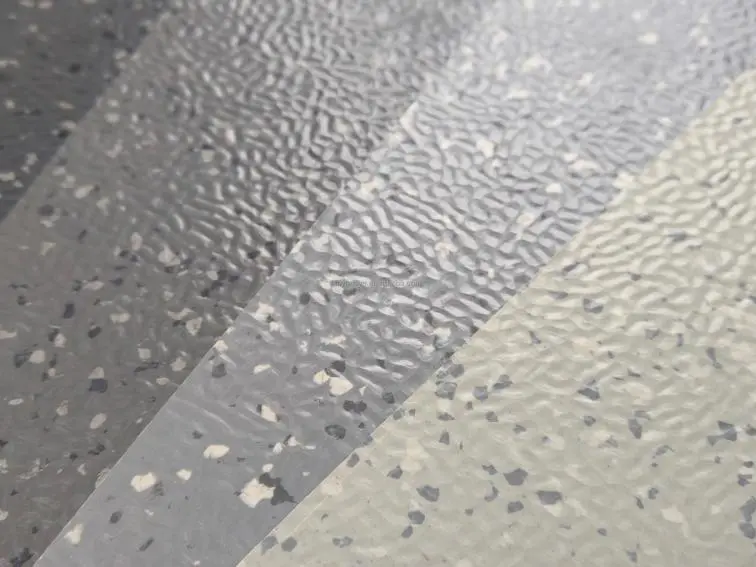
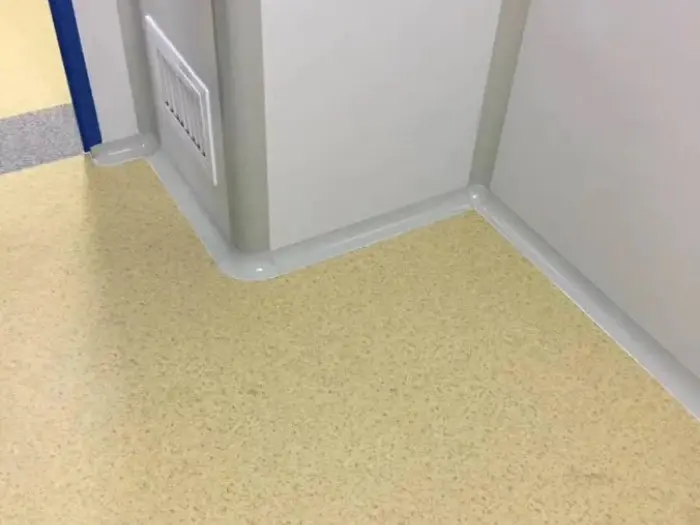
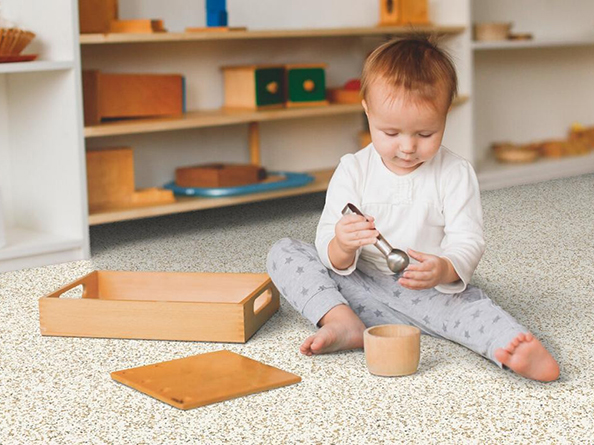
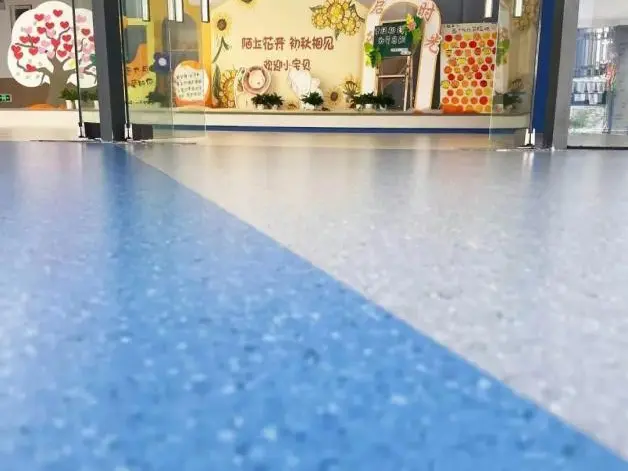
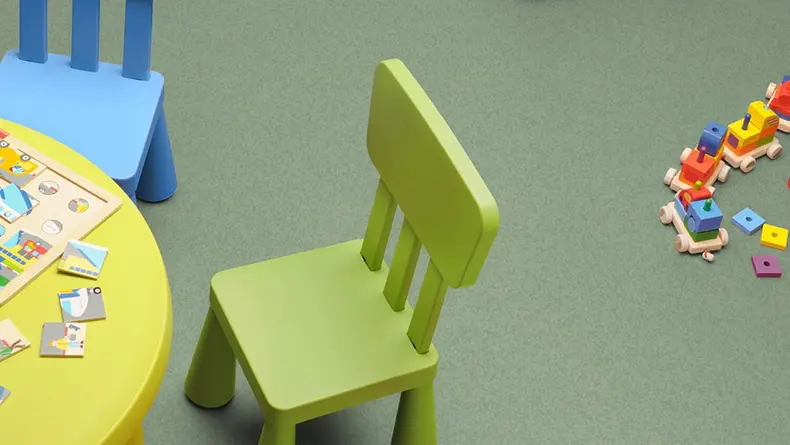
As a versatile flooring solution widely used in hospitals, kindergartens, and badminton courts, proper installation of PVC flooring requires attention to these critical steps:
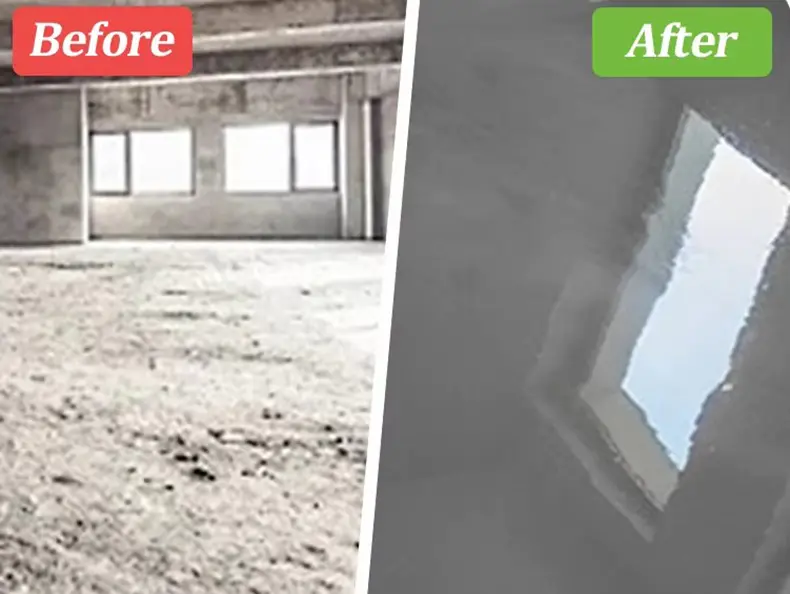
I.Self-Leveling Construction
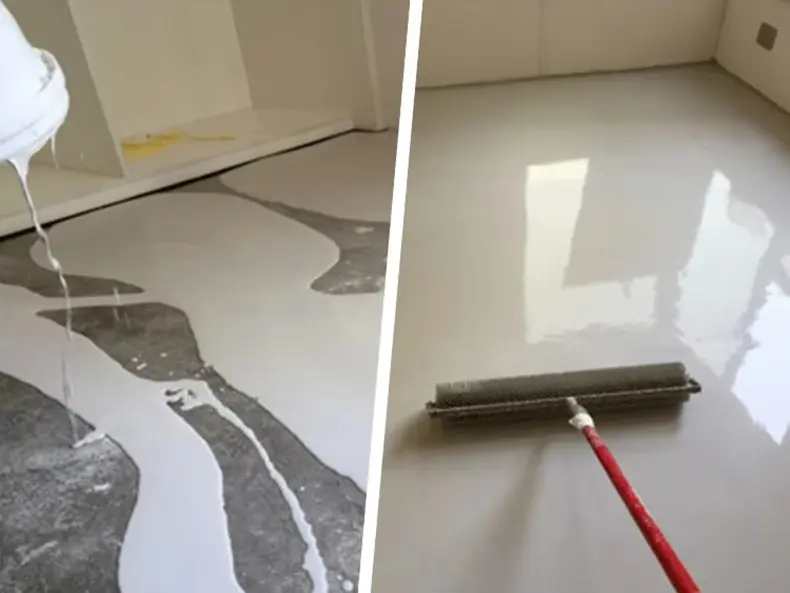
1. Base Preparation
- Thoroughly clean substrate surface
- Apply primer twice with complete drying between coats
2. Pouring & Leveling
- Mix compound thoroughly (minimum 3-min agitation)
- Standard thickness: 3mm (5-6mm for uneven surfaces)
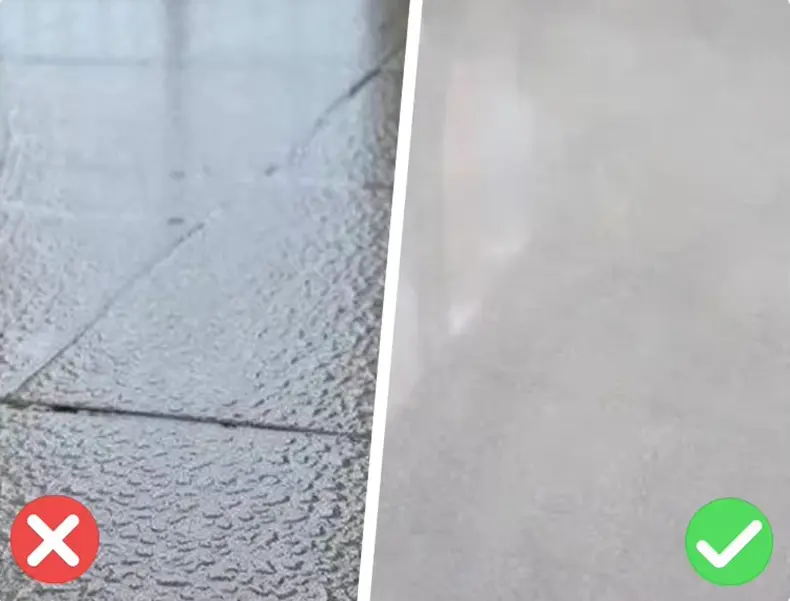
3. Bubble Elimination
- Use spiked roller for 3-5 passes
[Insert Image 3: Close-up of deaeration roller in action]
4. Curing Protocol
- 24hr curing (48hr in humid conditions)
- Optional step for stable substrates
II. Flooring Installation
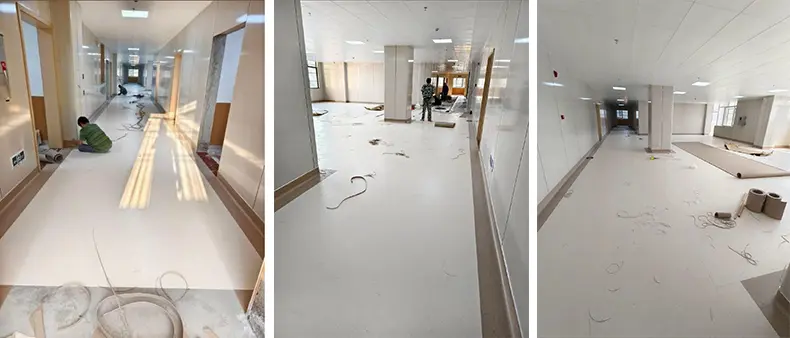
1. Material Preparation
- Acclimate materials ≥24hrs at job site temperature
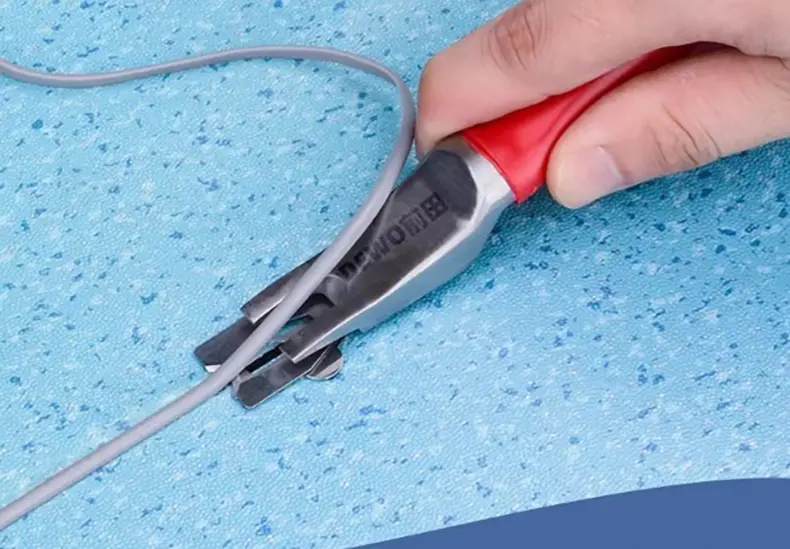
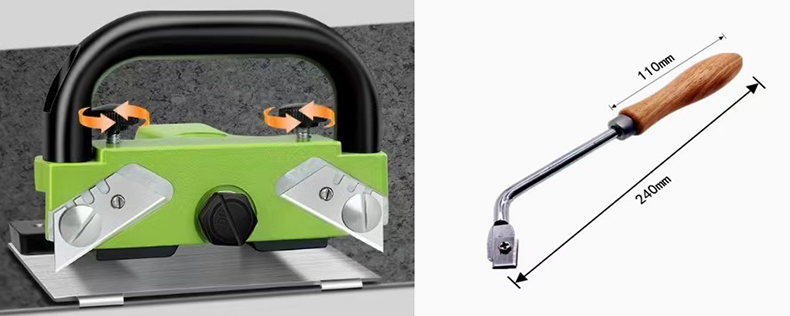
- Trim edges with professional trimmer
2. Laying Techniques
- Overlap seams by 3cm for precision cutting
- Apply adhesive using notched trowel
3. Compression & Finishing
- Use cork block for initial air removal
- Roll with 50-75kg steel roller
- Clean excess adhesive immediately
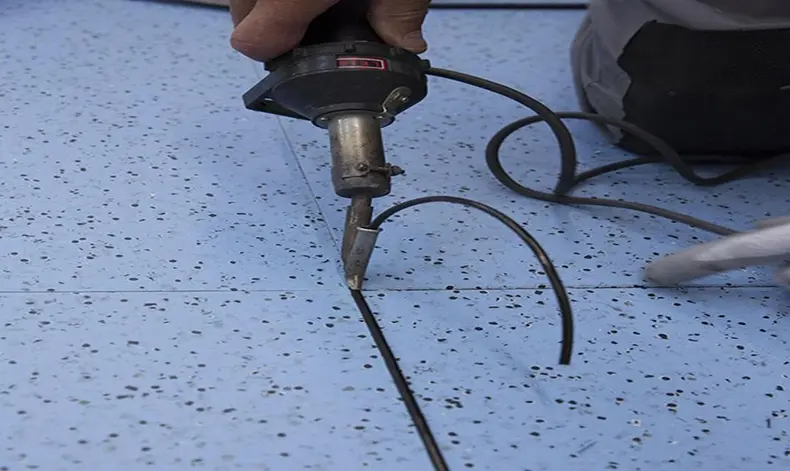
III. Hot Welding Process
1. Grooving Specifications
- Begin after full adhesive cure (72hr+)
- Cut to 2/3 material depth
- Manual grooving for edge areas
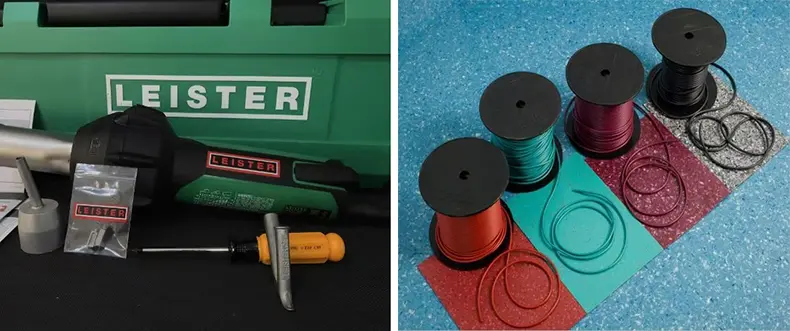
2. Welding Parameters
- Clean groove with vacuum
- Optimal temperature: 350°C (±10°C)
- Maintain consistent speed
3. Finishing Techniques
- Initial trim at semi-cool state
- Final flush cut after complete cooling
- Use crescent-shaped trimming knife